Installing a garbage disposal may seem like a task best left to professionals, but with the right guidance and a bit of patience, it can be tackled by most homeowners. A garbage disposal adds convenience to your kitchen by efficiently grinding food waste, helping reduce household garbage and minimizing clogs in your plumbing. This guide walks you through the entire process of installation, from preparation to final testing, offering a comprehensive understanding of how everything fits together.
Understanding the Role of a Garbage Disposal
 Before diving into the installation process, it helps to understand what a garbage disposal actually does. This appliance is mounted beneath the kitchen sink and is connected to the drain. It uses a motor-driven plate to spin impellers, which grind food waste into small particles. These particles are then flushed through the plumbing system with running water. Most disposals also include safety features such as overload protectors and manual reset buttons.
Installing a disposal not only reduces the amount of food waste going to landfills but also keeps your kitchen cleaner and more hygienic. However, installation involves both plumbing and electrical work, which requires proper handling to ensure safety and functionality.
Gathering the Necessary Tools and Components
Before beginning the installation, it’s important to collect all the tools and materials required for the job. Commonly used tools include a screwdriver, plumber’s putty, pipe wrench, hammer, pliers, and an electrical cord kit if the disposal doesn’t come prewired. You’ll also need a garbage disposal unit compatible with your sink setup and plumbing.
If you’re replacing an old unit, you should ensure that the new disposal fits into the existing mounting bracket or determine whether a new mounting assembly is needed. Additionally, having a bucket and some rags handy will make cleaning up easier in case of water spills during disassembly.
Removing the Existing Drain Assembly
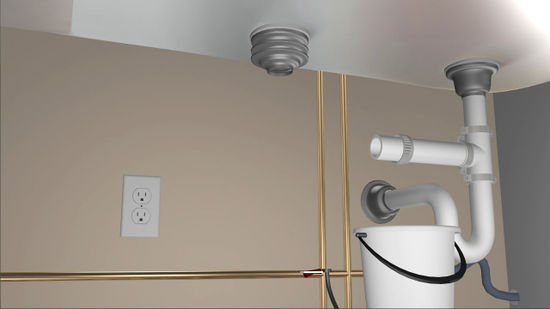
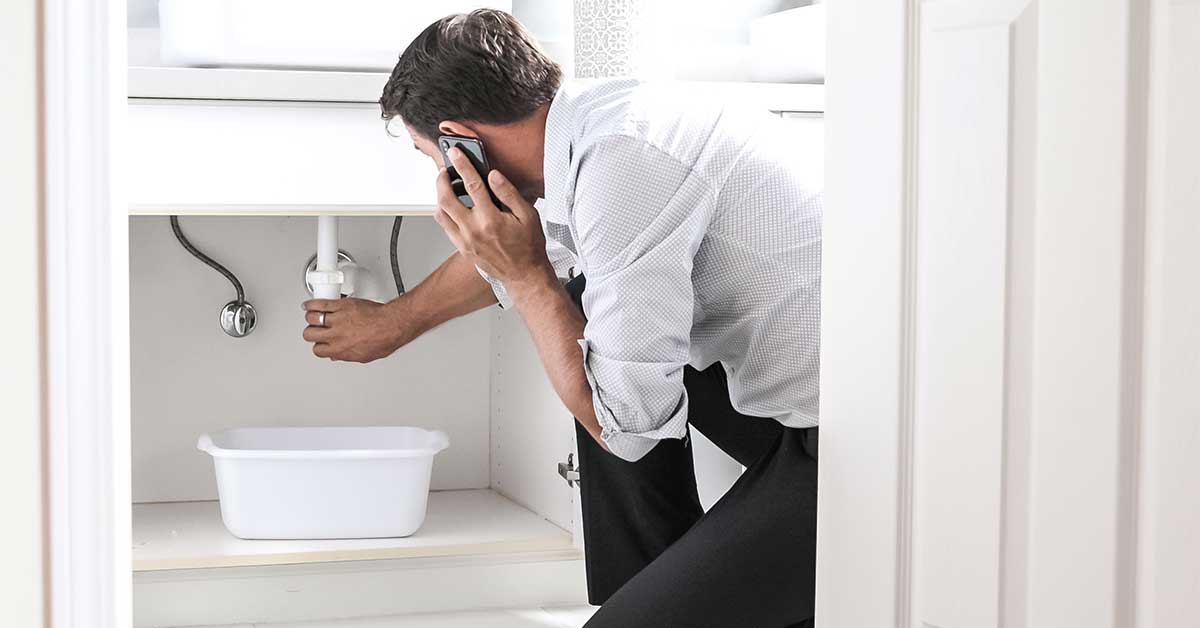
If you are replacing an old garbage disposal or installing one for the first time, you will need to disconnect the existing drain assembly. Start by turning off the power at the circuit breaker to avoid any electrical hazards. Place a bucket under the sink to catch any water that may spill when the pipes are disconnected.
Remove the P-trap and discharge pipe from the sink drain. If a garbage disposal is already installed, you’ll need to unmount it by turning it counterclockwise from the mounting ring. Use a screwdriver to loosen the mounting assembly from the sink. Carefully remove any old plumber’s putty or debris from around the drain opening to prepare for the new installation.
Installing the Mounting Assembly and Sink Flange
The sink flange is the part that connects the disposal unit to the sink drain. It needs to be sealed properly to prevent leaks. Begin by applying a generous amount of plumber’s putty around the underside of the new flange. Press the flange firmly into the sink drain opening, ensuring a snug fit.
Underneath the sink, slide the backup ring, fiber gasket, and mounting ring over the flange and secure them with the snap ring. Tighten the mounting screws evenly until the assembly feels firmly attached to the sink. Wipe away any excess putty that squeezes out around the flange.
The strength of this connection is critical since it holds the disposal in place and maintains a watertight seal. Ensuring a solid, even fit at this stage will prevent future leaks and mechanical issues.
Wiring the Electrical Components
Some disposals come with an electrical cord preinstalled, while others require you to wire it yourself. If you’re working with a corded model, simply plug it into a grounded outlet. For disposals that need to be hardwired, you’ll need to remove the wiring compartment cover on the bottom of the unit.
Carefully connect the black wire to the black wire, the white wire to the white wire, and the ground wire to the green grounding screw. Secure the wires using wire connectors and ensure all connections are tight and insulated. Replace the cover before proceeding.
Electricity and water are a dangerous combination, so double-check that the power remains off during the wiring process. Once connected, the electrical system should be tested only after the full installation is complete.
Connecting the Dishwasher Hose and Drain Line
 Most garbage disposals have a small knockout plug that needs to be removed if you plan to connect a dishwasher. This plug covers the opening where the dishwasher drain hose will be attached. Use a screwdriver and hammer to gently knock out the plug, then remove it from inside the unit.
Attach the dishwasher hose to the inlet and secure it with a hose clamp. Next, connect the disposal’s discharge outlet to the drain trap using the discharge tube and gasket provided with the unit. Ensure the discharge tube aligns with the existing drain plumbing to avoid having to make extensive modifications.
Tighten all slip nuts by hand, then use pliers for an additional quarter turn if necessary. A well-aligned and properly tightened drainage system will ensure the disposal functions efficiently and without leaks.
Mounting the Garbage Disposal Unit
With the plumbing and electrical components in place, it’s time to mount the disposal to the sink. Lift the disposal and align it with the mounting ring attached to the sink flange. Turn the disposal clockwise to lock it into place. Most units will have a quick-lock feature that securely fastens the disposal with a simple twist.
If the unit feels loose, double-check the mounting ring and screws to ensure everything is tightened appropriately. The weight of the disposal must be fully supported by the mounting ring to prevent sagging or dislodgement over time.
Once mounted, gently tug on the unit to confirm it is secure. Avoid using force, as over-tightening can damage the flange or cause misalignment with the drainpipes.
Testing the System for Leaks and Operation
Now that the installation is complete, it’s time to test everything. First, restore power to the disposal by turning the circuit breaker back on or plugging in the unit. Before running the disposal, fill the sink with water and check for any leaks at all joints and seals.
Turn on the water and activate the disposal. Listen for any unusual noises, which could indicate a loose component or foreign object inside the unit. The sound should be a smooth hum, not a grinding or rattling noise. If everything sounds normal, run some food scraps through the disposal to test its grinding capability and ensure waste is properly flushed through the plumbing.
Check under the sink once more for any signs of leaks. Even small drips can indicate a seal problem that needs immediate attention. If everything remains dry, your installation has been a success.
Maintenance Tips for Long-Term Efficiency
To keep your garbage disposal running efficiently, regular maintenance is essential. Avoid putting fibrous vegetables, bones, or grease down the disposal, as these can cause clogs or damage the grinding components. Running cold water while operating the disposal helps solidify any fats or oils, making them easier to grind and flush away.
Periodically cleaning the unit with a mixture of baking soda and vinegar can help remove odors and buildup. Ice cubes can also be ground occasionally to clean the blades and sharpen them. Avoid chemical drain cleaners, as they can corrode the internal parts of the disposal.
Routine inspection of seals, hoses, and electrical connections will ensure your disposal continues to function safely and effectively over the years. Addressing small issues early can help you avoid costly repairs and extend the lifespan of your unit.
When to Call a Professional
While many homeowners can handle a garbage disposal installation with the right tools and instructions, certain situations may require professional help. If your home has old or fragile plumbing, nonstandard sink configurations, or complex electrical needs, hiring a licensed plumber or electrician might be the safer choice.
Also, if you’re installing a disposal for the first time and your kitchen doesn’t have a grounded outlet or appropriate circuit, electrical work will be necessary to ensure compliance with local codes. Attempting such modifications without proper knowledge could lead to safety hazards or even damage your home’s infrastructure.
Recognizing your own limits and knowing when to seek expert assistance can make all the difference between a successful installation and a costly mistake.